# Setting up Google-Auth
Note: Requires a google account! (personal or business)
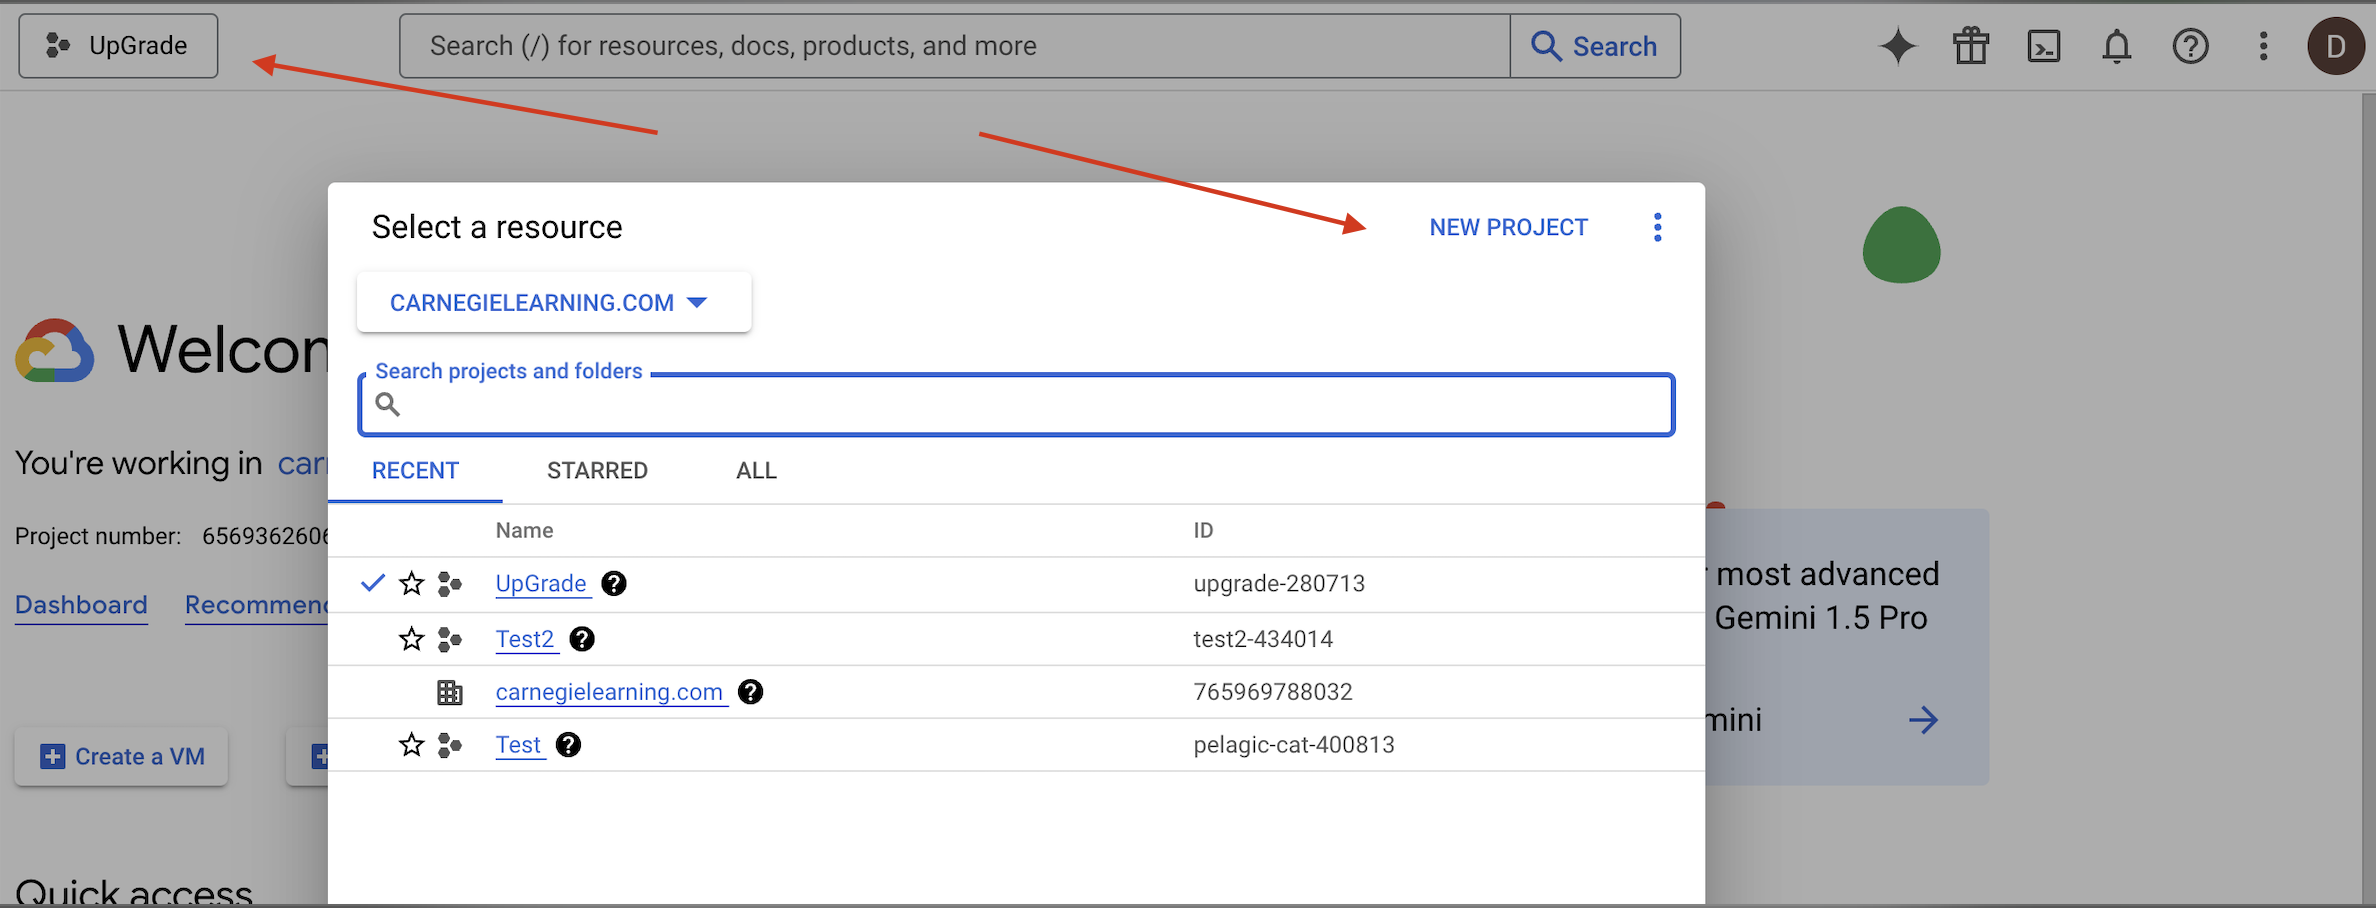
1. Go to [console.cloud.google.com](https://console.cloud.google.com) and click **Console.** You should see something like this, but sometimes this UI is not exactly the same, and may be different if empty. On left is the project selector, and New Project is there on the right.
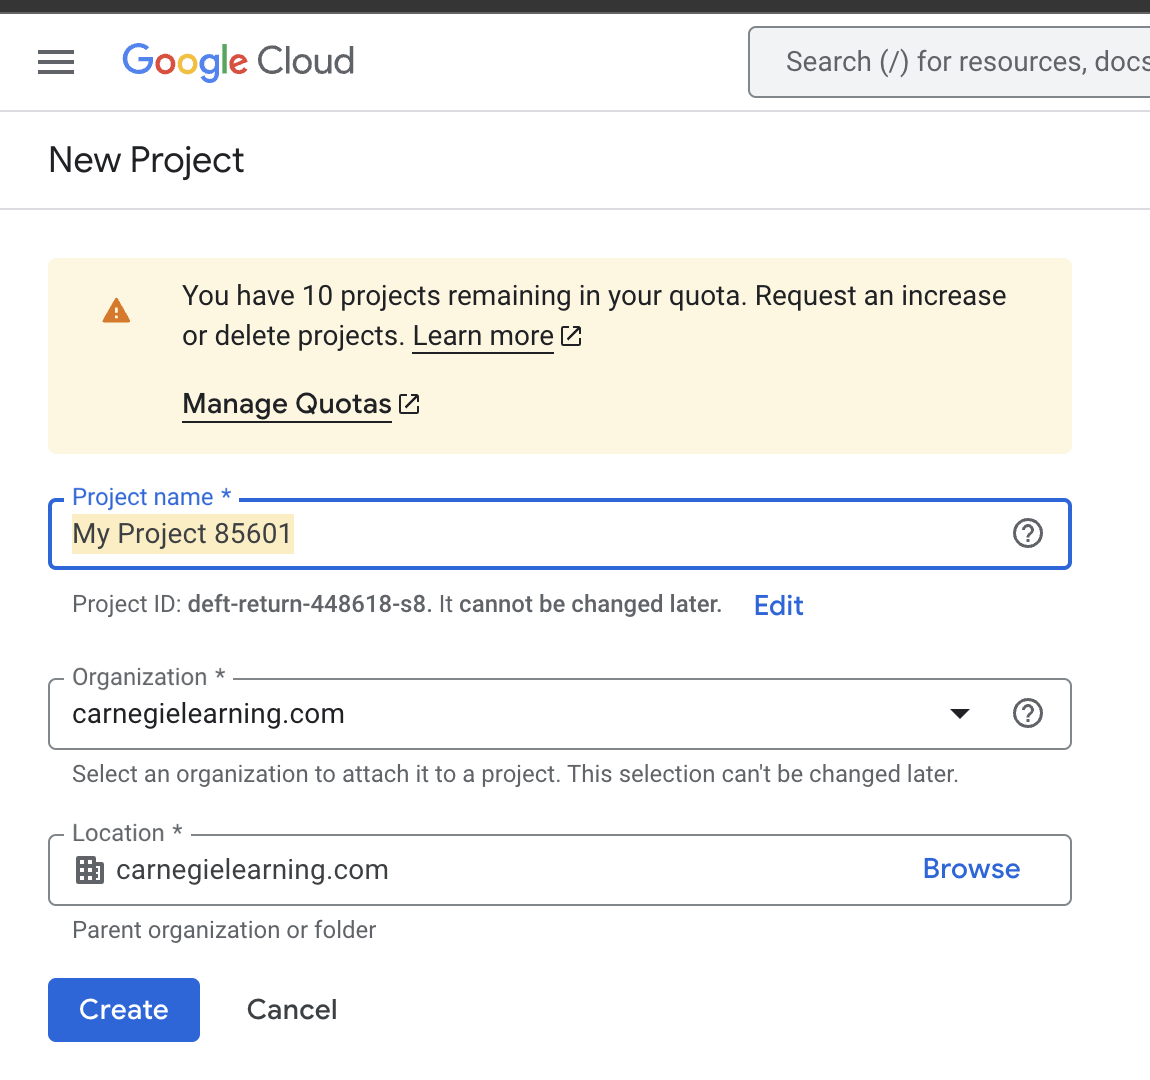
2. You will **Create a New Project** which you can call "Upgrade API".
3. Select **APIs and Services**
4. Go to **Credentials** > **+ Create Credentials** > **OAuth client ID**
5. Create the OAuth client ID:
* Select application type (Web)
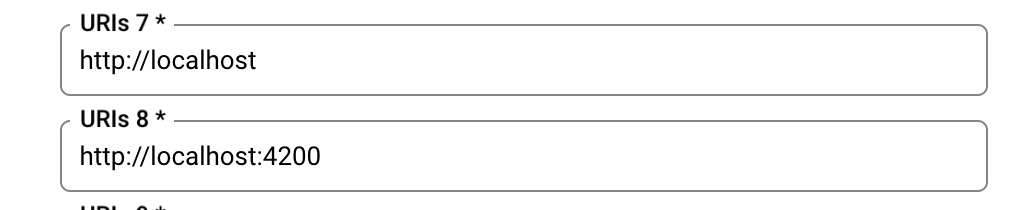
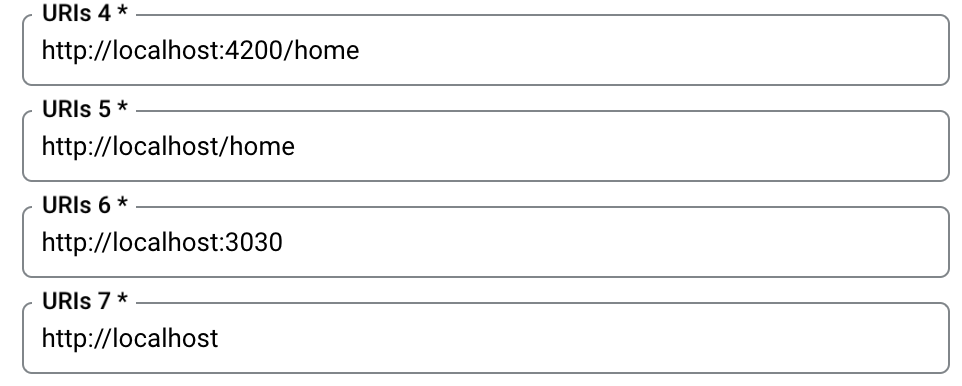
* Add **Authorized JavaScript origins** for your app. This depends on your domain setup for deployed instances but for local you will want to include these for the UI:
* Add **Authorized Redirect URIs.** This is what we have, it should do the trick
6. Click **Create** and find your your **Client ID** on the resultant page. This is your **GOOGLE\_CLIENT\_ID.**\
\
Your client ID will look like: `xxxxxxxxxxxx-xxxxxxxxxxxxxxxxxxxxxxxxxxxxxxxx.apps.googleusercontent.com`
7. This will be the id that is used in your GOOGLE\_CLIENT\_ID in your backend .env and in your frontend environment.ts files.
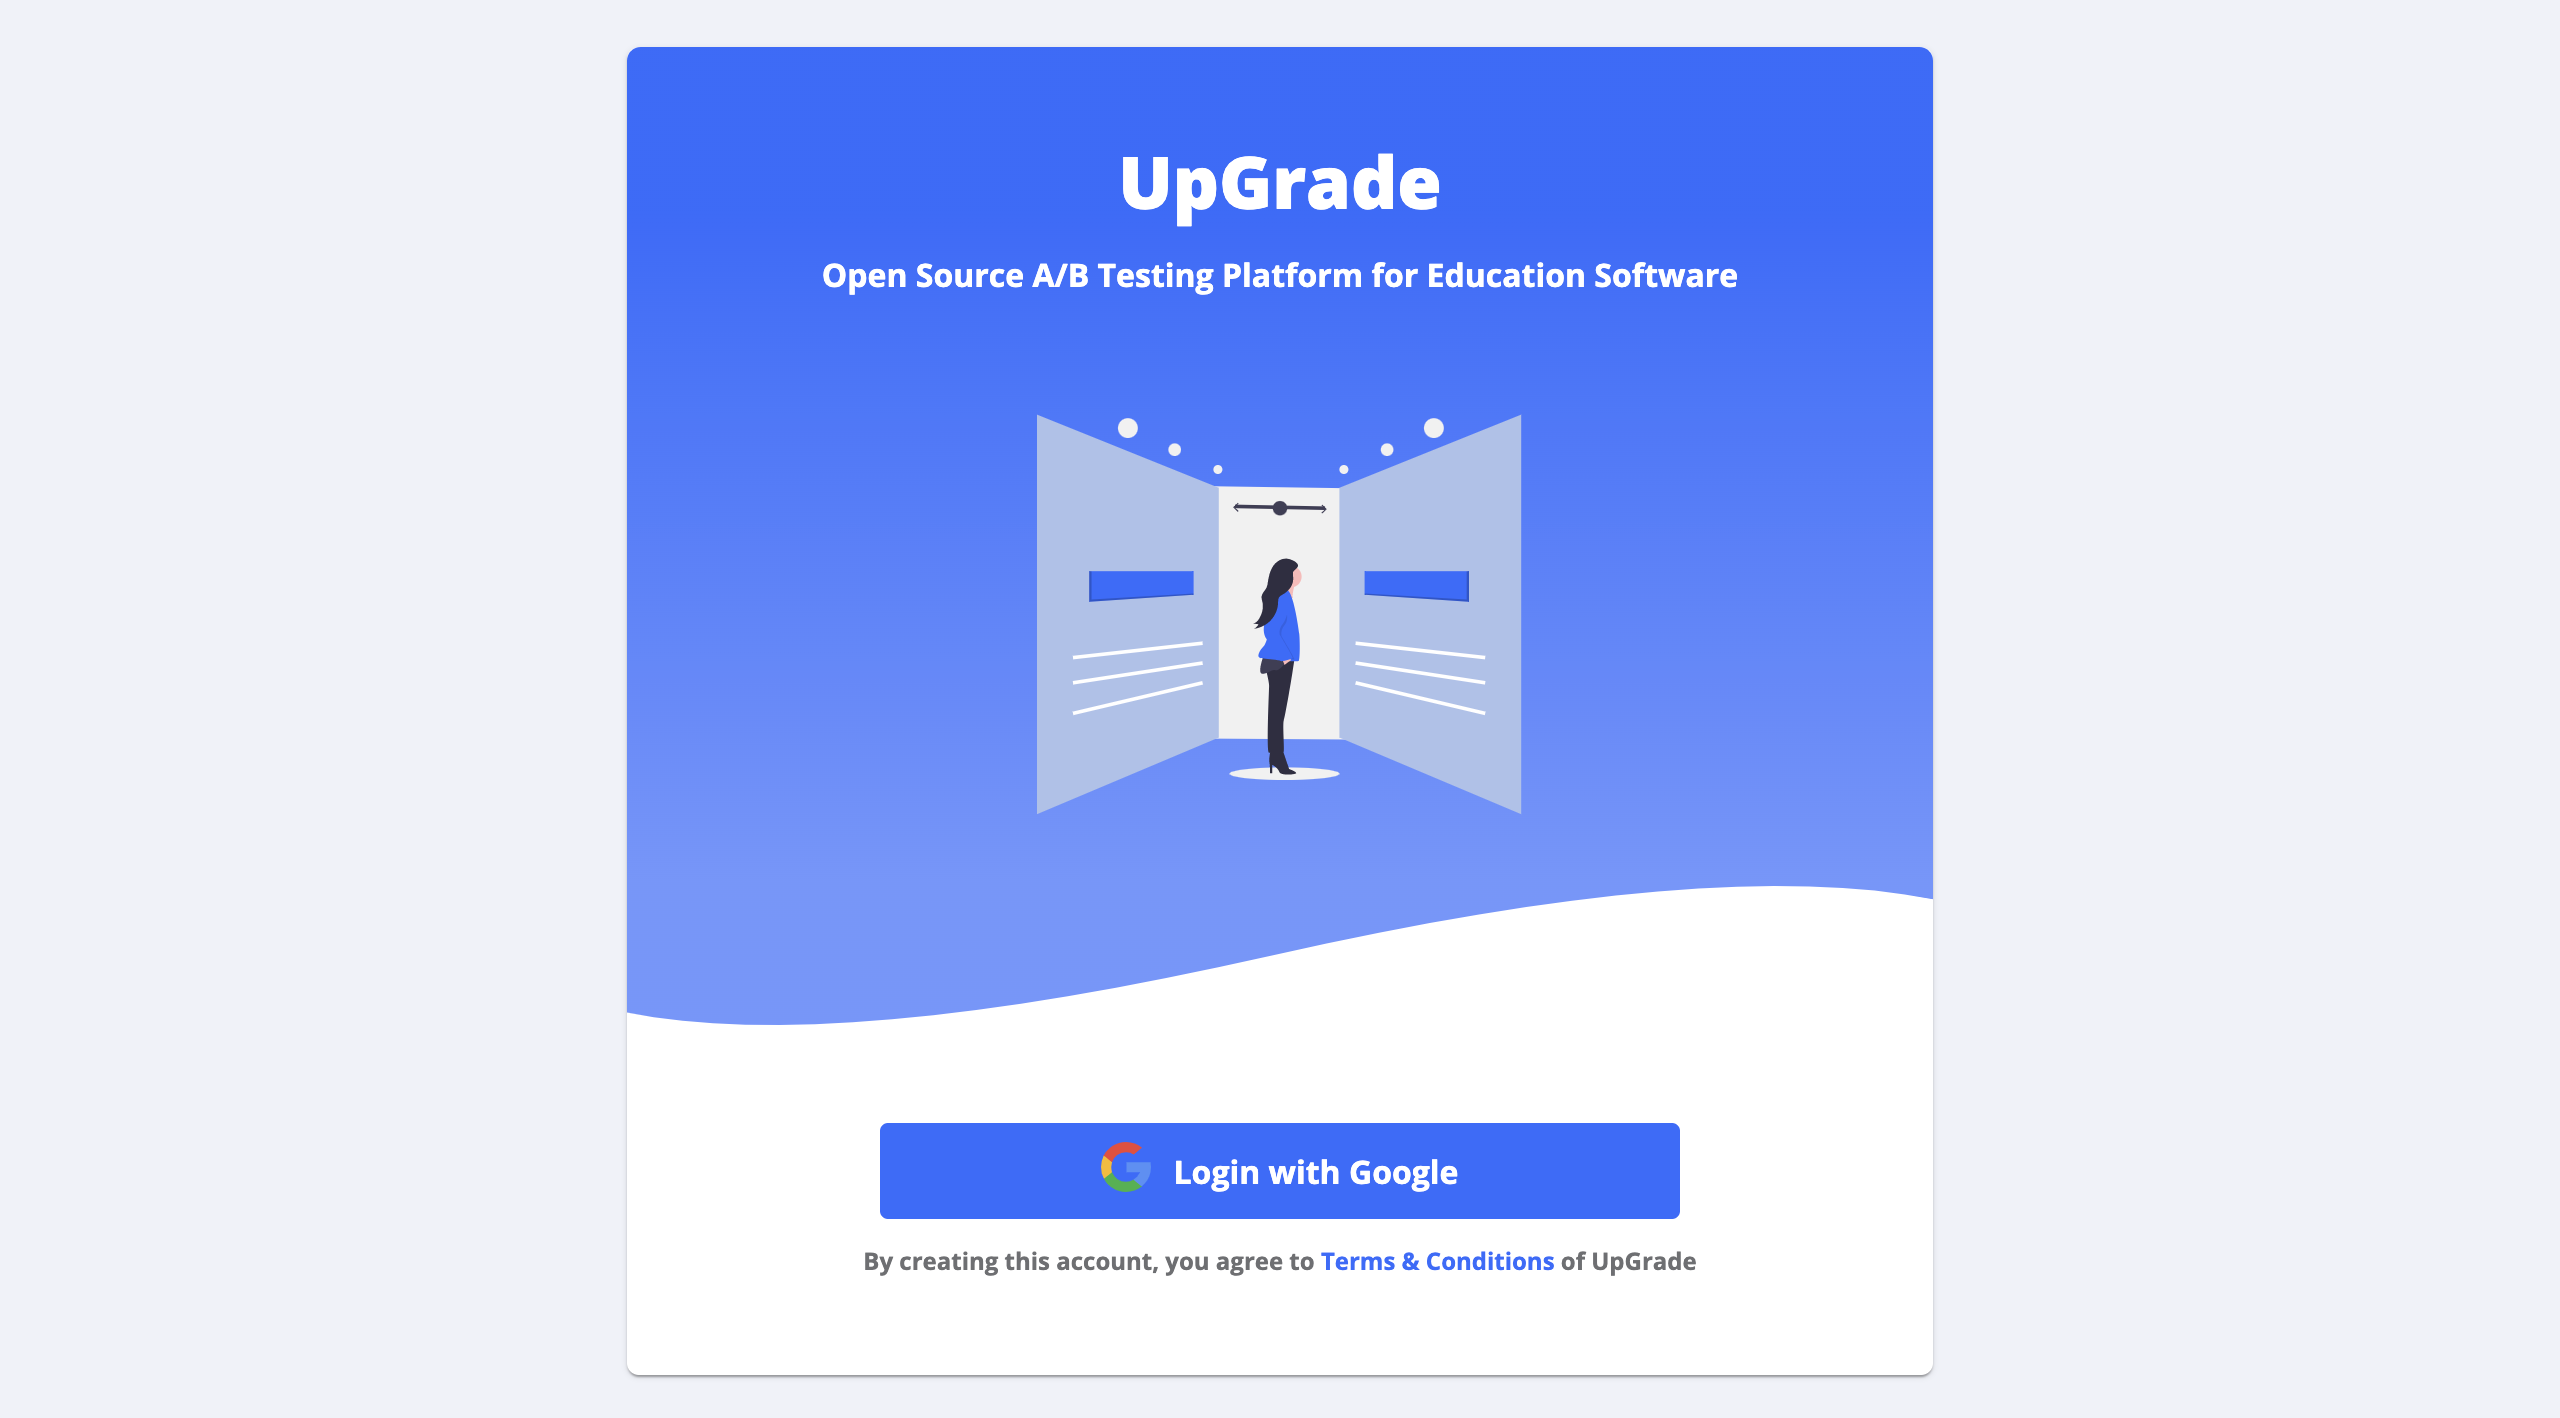
This may take a few minutes, then open the frontend and you should see this screen. You may or may not automatically see your google account name and picture populate the login button. Click this and login with a google user account.
Upgrade Login Screen
Finally your Upgrade frontend is deployed successfully!!!
Login using the gmail id with the domain specified during the deployment and you are ready to create experiments.
---
# Agent Instructions: Querying This Documentation
If you need additional information that is not directly available in this page, you can query the documentation dynamically by asking a question.
Perform an HTTP GET request on the current page URL with the `ask` query parameter:
```
GET https://upgrade-platform.gitbook.io/upgrade-documentation/developer-guide/reference/setting-up-google-auth.md?ask=
```
The question should be specific, self-contained, and written in natural language.
The response will contain a direct answer to the question and relevant excerpts and sources from the documentation.
Use this mechanism when the answer is not explicitly present in the current page, you need clarification or additional context, or you want to retrieve related documentation sections.